On this page
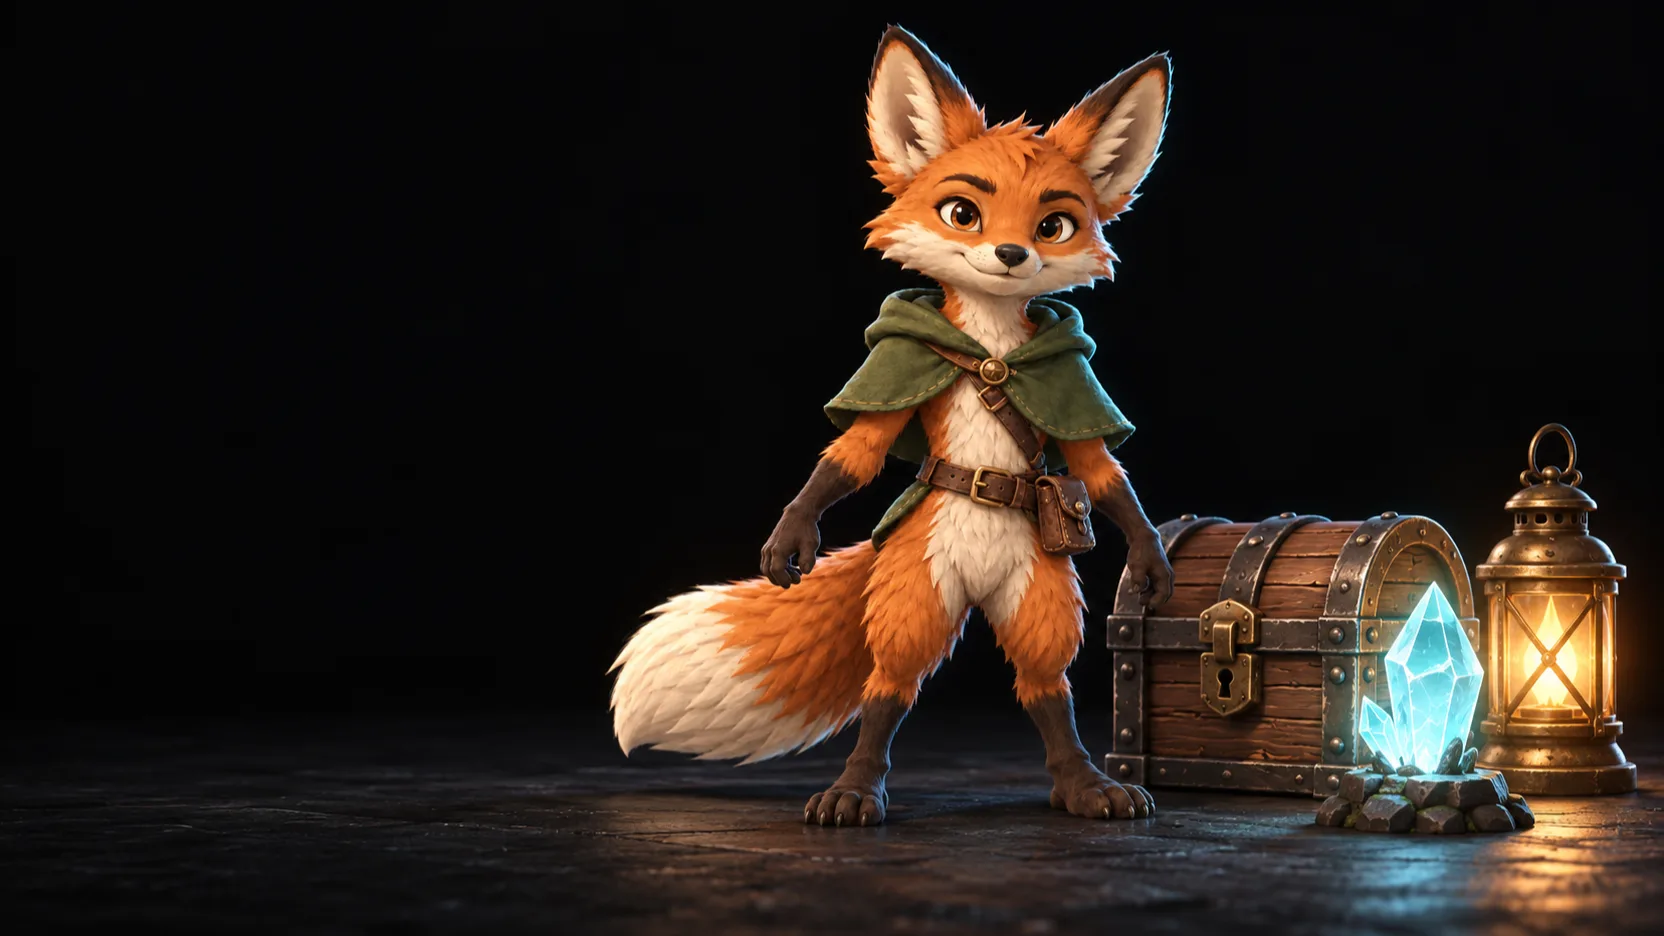
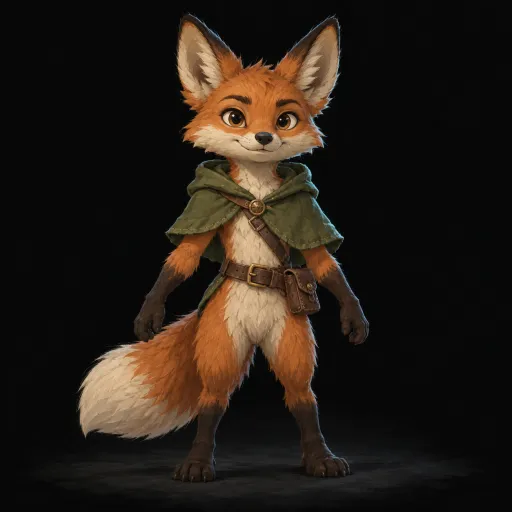
Every game needs a hero. In most studios, one character goes through five apps and many hands before it can run across the screen. In this guide, you take a fox adventurer from one prompt to a run cycle. You do it on one canvas, with five nodes.
This is the workflow that you build. Watch it run:
- Theo
- Provider
- OpenAI
- Model
- GPT Image 2
- Provider
- Tripo
- Type
- Image to model
- Rig type
- biped
- Bone naming
- unreal
- Animation
- run
Theo5m
Love the cloak. Can the run be faster?

Maya2m
Sure. Running it now.
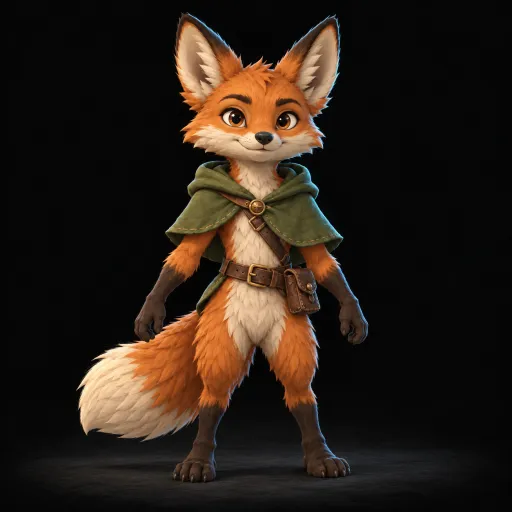
A small fox adventurer in a green cloak, with a leather satchel and a bushy tail.
- Theo
- Provider
- OpenAI
- Model
- GPT Image 2
- Provider
- Tripo
- Type
- Image to model
- Maya
- Texture model
- v3.5
- Quality
- Detailed
- Rig type
- biped
- Bone naming
- unreal
- Animation
- run
The plan
Each node does one job, and gives its result to the next node:
| Step | Node | Result |
|---|---|---|
| 1. Concept | Generate Image | An image of the character. |
| 2. Model | Generate Model | A 3D model from the image. |
| 3. Texture | Texture Model | Better textures on the model. |
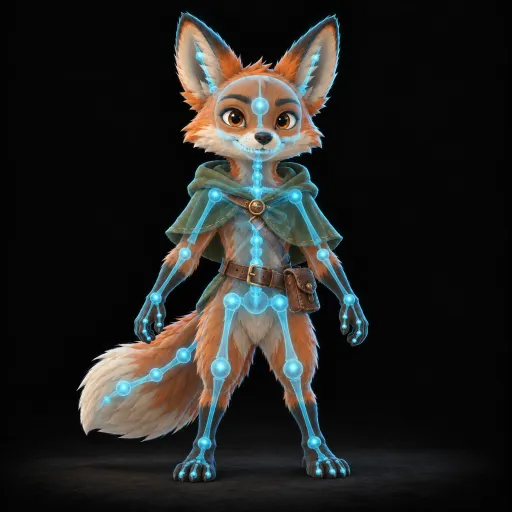
| 4. Rig | Rig Model | The model with a skeleton. |
| 5. Run | Retarget Animation | The model in a run cycle. |
To add a node, type its name in Search tools at the left, then drag it onto the canvas. To link two nodes, drag from an output at the right of a node to an input at the left of the next node.
Step 1: Write a prompt that makes a good model
The concept image decides how good the model can be. So the prompt asks for an image that is easy to turn into 3D. Add a Plain Text node and type:
A stylized fox adventurer with a green cloak, standing in a T-pose,
seen from the front. Full body in frame, plain light gray background.
Each part of the prompt has a job:
- T-pose: the arms are away from the body, so the rig can find them.
- Seen from the front, full body in frame: the model sees each part of the character.
- Plain background: nothing else gets into the model.
Add a Generate Image node. Link the Text output of Plain Text to its Prompt input.
Step 2: Turn the image into a model
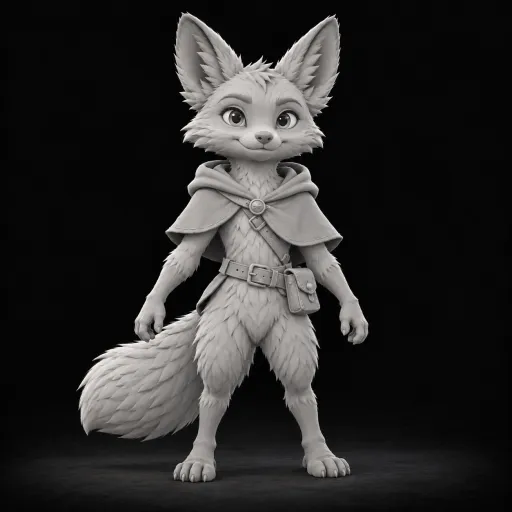
Add a Generate Model node. Link the Images output of Generate Image to its Image input. In Params, set Type to Image to model.
You get a 3D model with its first textures. Turn it with the mouse in the preview. Look at the back and the sides too.
Step 3: Paint it
Add a Texture Model node. Link the model to its Model input, and the concept image to its Reference input. Texture Model paints the model again, with your concept art as a guide.
This step is optional. If the textures of step 2 look good, skip it. For more detail, set Quality to Detailed. A higher quality costs more tokens.
Step 4: Give it a skeleton
Add a Rig Model node and link the model to it. In Params, set Rig type to the body of your character. A fox on two legs is biped. Rig Model also knows four-legged animals, birds, snakes and more.
If your game engine needs its own bone names, set Bone naming, for example to unity, unreal or mixamo.
Step 5: Make it run
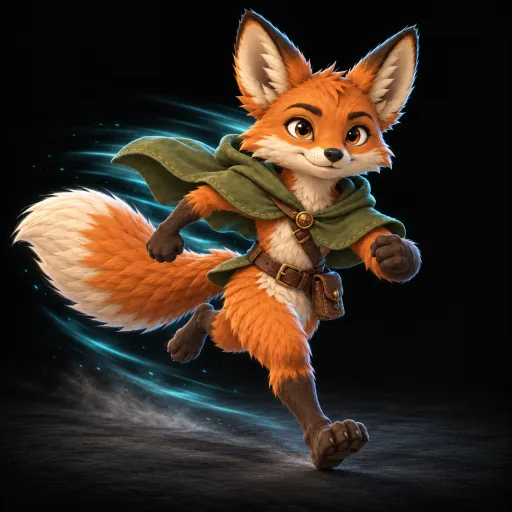
Add a Retarget Animation node. Link the Rigged model output of Rig Model to its Rigged model input. In Params, set Animation to preset:run. Turn on In place to keep the fox on one spot while it runs.
Add a Preview node and link the animated model to it.
Run it, one step at a time
Press ⌘A on Mac or Ctrl+A on Windows and Linux to select all nodes. Then click Step, not Run. Step stops after each node, so you can check the result before the next node starts:
- Look at the concept art. If it is not right, change the prompt and run Generate Image again. A bad concept costs one image, not a full model.
- Approve the image. The model starts.
- Check each result in the same way, until the fox runs in the Preview node.
Each 3D node can take some minutes. You can work in another workflow while it runs. Each result is kept as a version, so you can go back at any time. Lock a node to keep a result that you like.
Take it to your engine
Link the animated model to a Convert Model node. Set Format to FBX or GLTF, then run it. Each result also goes to your library. Click the … button of the tile, then Download.
Go further
- More clips. Add more Retarget Animation nodes for preset:idle, preset:walk and preset:jump. They all use the same rig.
- Your own motion. Animate the rig from a video with AI Animation. Our November update shows how.
- A whole cast. Turn the prompt into a template with a field, such as
{{creature}}. Each new hero then shares one style. - Bring your team. Invite them to your org. You see each cursor on the canvas, and you can leave notes next to the nodes.
The docs have this workflow with a picture of each step: Make a 3D character from a prompt.